All about product
Description
Specification
Download
Reviews
0
Questions0
Installing the module


Automatic addition of IP address for API in Opencart
Product Code: 454
Version: 1.0
In Stock
FREE
Main specifications
PHP:
7.2-7.4
Compatibility:
Opencart 3.0, OcStore 3.0
Localization:
Ukrainian, Russian, English
Ocmod:
Yes
Adaptation to your store:
Paid
All specifications
Description
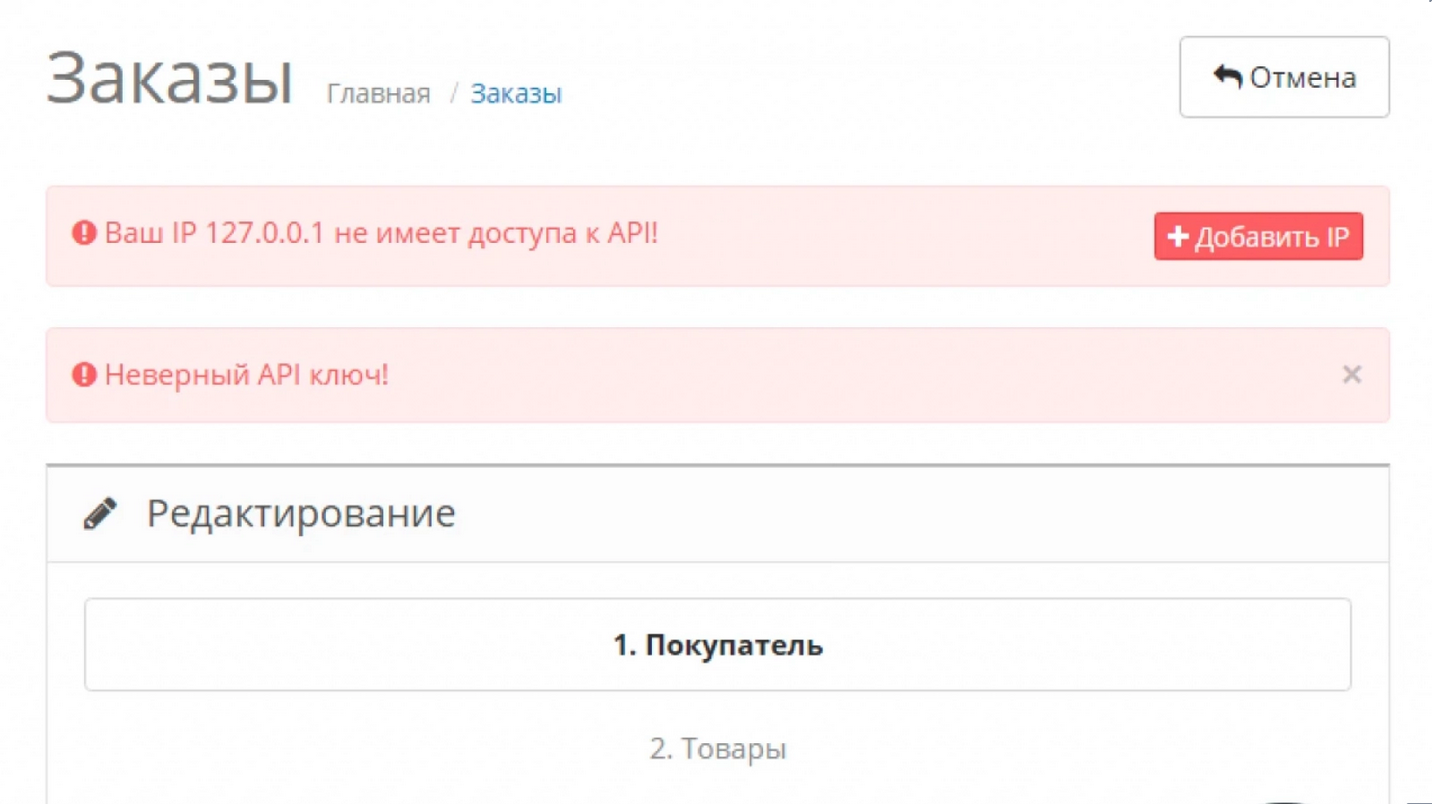
Modifier "Automatically add IP address for API"
This simple modifier eliminates the need to manually add your IP address to the API whitelist. It automatically adds your IP address, which is especially useful when there are errors when adding or editing an order, such as:
- Invalid API key!
- Your IP . . . doesn't have API access!
Specifications
Characteristics
PHP
7.2-7.4
Compatibility
Opencart 3.0, OcStore 3.0
Localization
Ukrainian, Russian, English
Ocmod
Yes
Adaptation to your store
Paid
Download
There are no reviews for this product, be the first to leave your review.
No questions about this product, be the first and ask your question.
Installing the module
Module installation instructions:
- Before performing any actions related to installing an add-on in Opencart, we recommend creating a backup copy of all site files and the store database ;
- Install the localcopy fix (if you don't have it installed yet)
- Download the module file for the desired Opencart version from our website ( Follow the installation instructions if there are any in the module archive );
- Then go to the "Installing add-ons/extensions" section and click on the " Download " button;
- Select the downloaded file and wait for the module to be fully installed and for the text "Application installed successfully" to appear;
- After that, go to " Application Manager " and update the modifiers by clicking the " Update " button;
- After these actions, you need to add the rights to view and manage the module in the " User Groups " section for the administrator or other users you select by clicking " Select All ".


