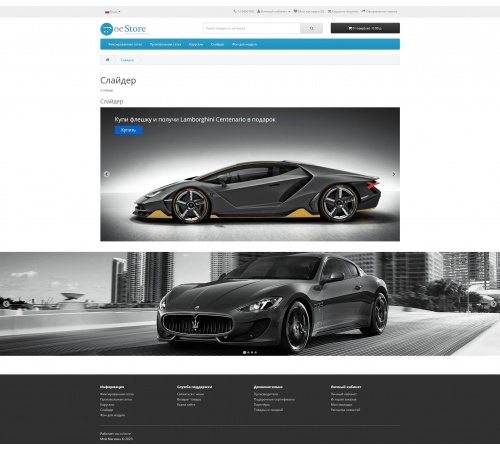
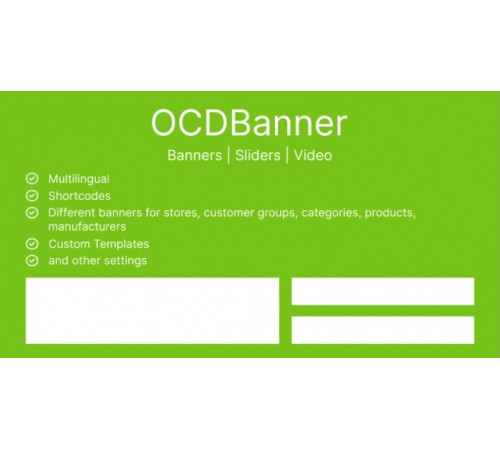
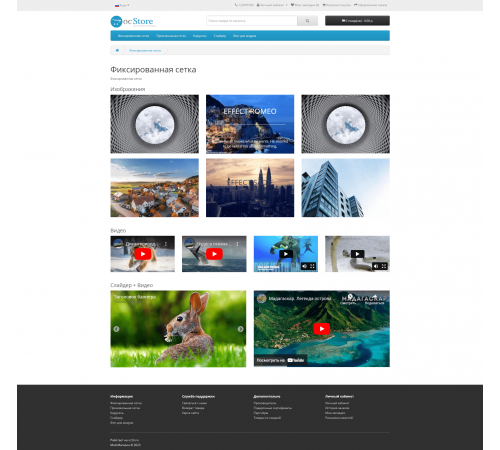
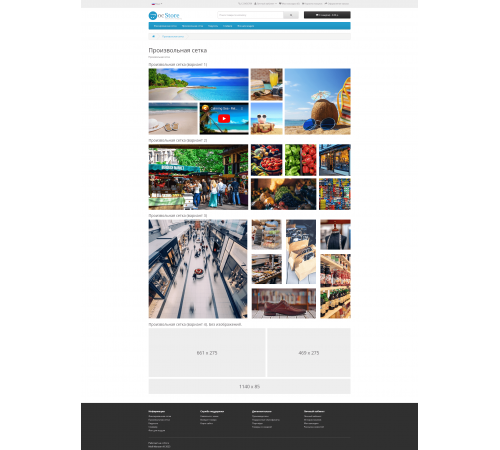


OCDbanner: Banners | Sliders | Video - a multifunctional module for displaying banners, sliders and showing videos on your site.
Main module settings:
1) Module header output
2) Module block width:
- To the width of the container
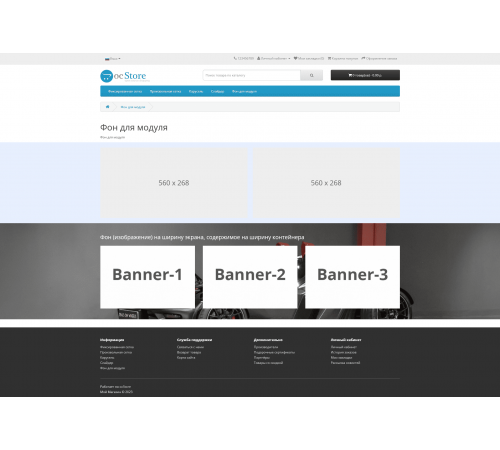
- To the width of the screen
- Background to the width of the screen, content to the width of the container (either an image or a color can be selected as the background)
3) Module display on various devices.
4) Custom templates. You can attach a custom template to each module, so that when you update the module, any changes made will not be lost.
Attention!
Setting "Block width" for "Fit to screen width" and "Background to screen width, content to container width" will in most cases require adaptation to templates.
Basic settings for banners in a group:
1) Group name display
2) Three display modes
- Bootstrap grid (1, 2, 3, 4 or 6 banners in a row)
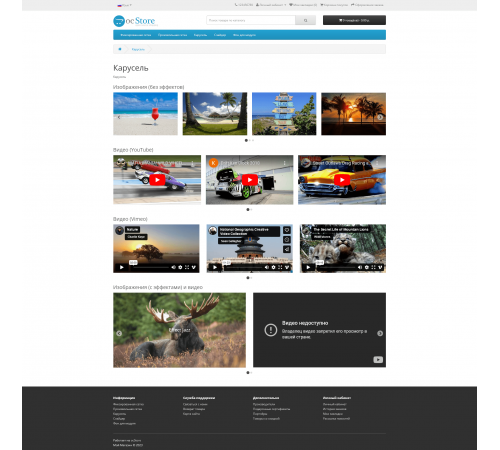
- Carousel (auto scrolling, navigation, limit of banners in the visible part of the carousel at different resolutions screen (unlimited number of resolutions, distance between banners for different resolutions)
- Custom grid (adjustable distance between banners)
3) Image sizes
4) Group status
After updating to ver.4, you need to reconfigure an arbitrary grid in the administrative part!
With the group display modes "Grid Bootstrap" and "Custom grid" for each banner, you can choose one of three types:
1) Image
2) Video
3) Slider
In the group display mode "Carousel" for each banner, you can choose one of two types:
1) Image
2) Video
Absolutely any banner can be set to on/off status.
Multilingual settings for banner type "Image":
1) Image.
2) Image hover effect (12 effects).
3) Header (html code support). It will also be used as the title of the image.
4) Alt for image.
5) Header status.
6) Position for the title (before the image, after the image, in the body of the image).
7) Header alignment (left, right, center).
8) Link.
9) Does the link point to a video (YouTube or Vimeo).
10) Links open in current or new window. Separately, videos are shown in a modal window.
11) Banner description status.
12) Description (support for html code + if necessary, you can enable a visual editor).
13) Sorting order.
Multilingual settings for banner type "Video":
1) Choice of video hosting (YouTube or Vimeo).
2) Video ID. To display a video, you need to enter only its ID in the field.
3) Title for the video.
4) Header status.
5) Position for the title (before or after the video).
6) Header alignment (left, right, center).
7) Sorting order.
Multilingual settings for banner type "Slider":
1) Slider status.
2) Image.
3) Header (html code support). It will also be used as the title of the image.
4) Alt for image.
5) Header status.
6) Header alignment (left, right, center).
7) Link.
8) Does the link point to a video (YouTube or Vimeo).
9) Links open in the current or new window. Separately, videos are shown in a modal window.
10) Banner description status
11) Description (support for html-code + if necessary, you can enable a visual editor)
12) Sorting order.
Access levels:
1) Show banners for different stores
2) Show banners for different customer groups
3) Show banners for different categories
4) Show banners for different manufacturers
5) Show banners for different products
If you need to make changes to the styling of the module, the "CSS" tab is provided.
Doesn't overwrite engine system files
Doesn't use VQmod
Doesn't use OCMOD
Doesn't use ioncube
Installation
1) Download ocdbanner.ver4.ocmod.zip via Add-ons / Installing add-ons (Extensions / Extension Installer)
2) Enter the license key
3) Go to System / User Groups and set access rights for the administrator (in the blocks "Allow viewing" and " Allow editing" tick for versions 2.3 and 3.x - extension/module/ocdbanner, for version 2.1 - module/ocdbanner)
4) In the module settings on the "Accesses" tab, be sure to check the store and the group of customers for which you want to show the module.
5) Display the created module on the required page.
Update
1) Download ocdbanner.ver4.ocmod.zip via Extensions / Extension Installer
2) Go to the module, enter the license key and resave the settings.
Attention!
The following effects are disabled for the custom grid: Apollo, Jazz, Sarah, Romeo, Bubba, Marley, Oscar, and Sadie.
To obtain a license key, send the following information to Telegram: https://t.me/opencarthub :
1) Order number
2) Domain on which the module is used or will be used.
License!
1) This module is implemented according to the principle: one license - one domain.
2) It is forbidden to resell the module without the consent of the author.
3) It is forbidden to transfer the module to third parties, distribute and publish on your own behalf without obtaining the permission of the author of the module.
Since 05/15/2021, the release of new versions for OS2.1 has been discontinued

Characteristics
No questions about this product.
Module installation instructions:
- Before performing any actions to install the add-on in Opencart, we recommend creating a backup copy of all site files and the store database;
- Install the localcopy fix (if you don't have it installed yet)
- Download the module file for the required Opencart version from our website (Follow the installation instructions if there are any in the module archive);
- Then go to the "Installing add-ons/extensions" section and click on the "Download" button;
- Select downloaded file and wait for the module to be fully installed and the text "Application installed successfully" to appear;
- Then go to "Application Manager" and update the modifiers by clicking the "Update" button;
- After these actions, you need to add the rights to view and manage the module in the "User Groups" section for the administrator or other users you select by clicking "Select All"


Спасибо!