

Introduction
One of the most important tasks of any online store is automation.
Why do routine work when you can give it to robots?
The module allows you to automate the process of working with orders that have a certain status according to the schedule.
Since each store uses statuses according to internal logistics, the tasks may be different.
For example:
- you can automatically notify about missing orders
- Thanks to changing statuses, you can periodically transfer statuses to another status
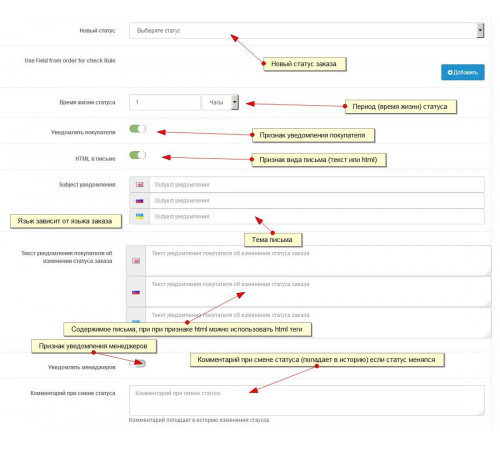
- When statuses change, the notification process is triggered for both the client and administrators; notifications are configured for each rule
WHAT DOES THE MODULE DO?
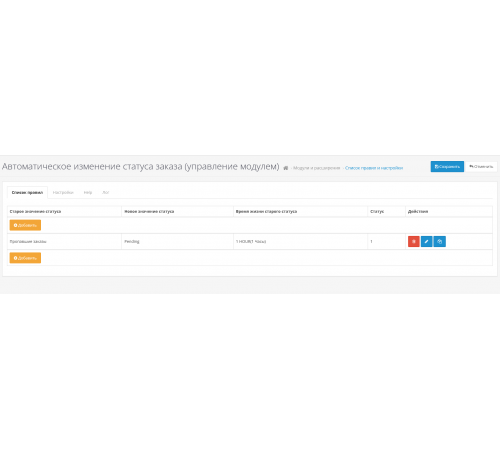
The Automatic change of order status module (module control) allows you to transfer the order status (Old Status) to another status (New Status) after a certain period (specified in days or hours). At the same time, the store manager does not need to remember about changing statuses, or checking the list of “old” orders to complete tasks for changing status.
EXAMPLE OF USE:
- Lost orders are hanging like dead weight, you can regularly remind managers about them, let them make a decision
- Delivery:
The order is assigned a certain delivery status and a notification is sent that the goods have been sent. But the deadline passed, and the cargo was not picked up...
The manager forgot, the buyer forgot.
But in this case, the order status will automatically, after a specified time, change to another status with notification to the buyer or manager (if specified).
-After making a full Purchase:
The order is assigned a certain order completion status, and after a certain period of time the status will change to a withdrawal notice.
A corresponding letter will be sent to the buyer.
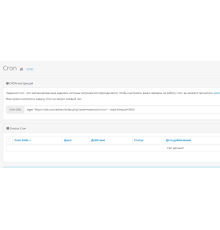
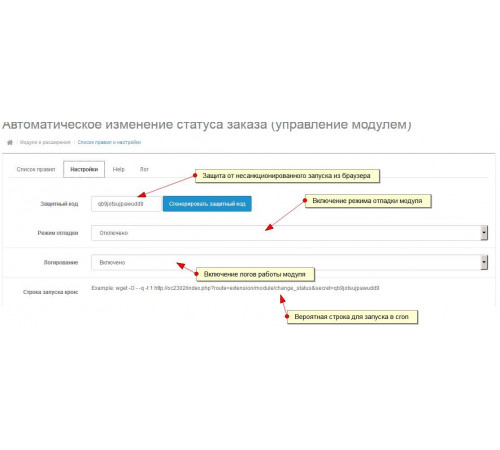
At the moment, the module's operation involves running a script via cron.
It is recommended to configure it once an hour.
The recommended line for running the script is listed in the settings tab.
Demo of the module..
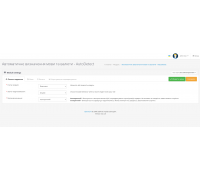
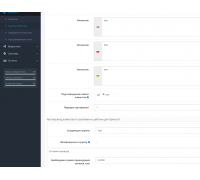
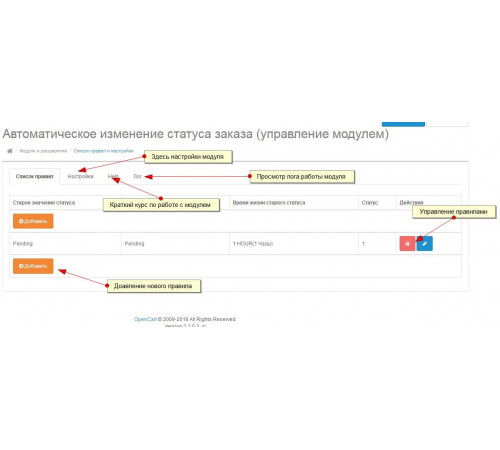
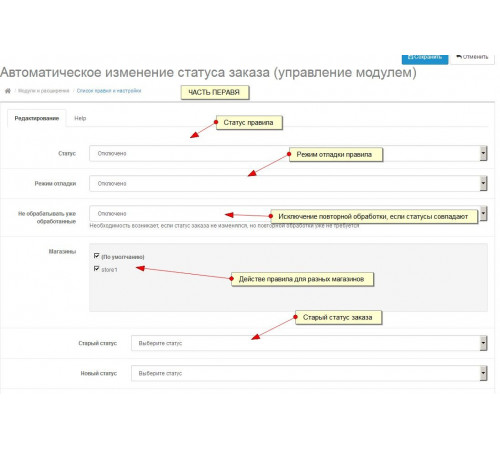
I think that a preview of the admin panel is enough.
According to testers, it is an intuitive interface.
We increase sales. We improve the behavioral factor - customer return.
Happy customers = sales (new orders)
Want to know how satisfied your customers are with your product?
The best way is to send an invitation to the buyer to leave a review of the purchased product.
How to do it?
Old status = completed
New status = completed
buyer notification sign - set
Example letter
Hello, [[customer]]Thank you for the order [[order_id]] you made [[date_added]] in our store [[store_name ]]
We will be grateful if you leave a review of the product you purchased [[products]] Thank you, [[store_name]]
Installation, startup assistance
This is when you don’t know what cron is, you don’t understand what debugging and logging are,
or you feel that you can’t handle it on your own.
But if you decide to order without the option, try to figure out the hoster yourself, read the module help. Of course, no one takes away your right to ask a question, both in the support thread and in private messages (preferably), if you have local problems with the module.
Characteristics
PHP
7.2-7.4Compatibility
OpenCart 3, ocStore 3Localization
Ukrainian, Russian, EnglishOcmod
NoReviews: 0
There are no reviews for this product.
Questions: 0
No questions about this product.
Module installation instructions:
- Before performing any actions to install the add-on in Opencart, we recommend creating a backup copy of all site files and the store database;
- Install the localcopy fix (if you don't have it installed yet)
- Download the module file for the required Opencart version from our website (Follow the installation instructions if there are any in the module archive);
- Then go to the "Installing add-ons/extensions" section and click on the "Download" button;
- Select downloaded file and wait for the module to be fully installed and the text "Application installed successfully" to appear;
- Then go to "Application Manager" and update the modifiers by clicking the "Update" button;
- After these actions, you need to add the rights to view and manage the module in the "User Groups" section for the administrator or other users you select by clicking "Select All"
Similar products
You watched
Description meta tag automatically from description for Opencart
Our module automatically generates the Description meta tag for product, category and manufacturer pages in the Opencart..
7.2-7.4
Opencart 3.0, OcStore 3.0
300 грн
Automatic language and currency detection module
Automatic detection of language and currency
The AutoDetect module automatically adapts the language and currency of ..
7.2-7.4
3.0.0.0, 3.0.1.1, 3.0.1.2, 3.0.2.0, 3.0.3.0, 3.0.3.1, 3.0.3.2, 3.0.3.3, 3.0.3.5, 3.0.3.6, 3.0.3.7, 3.0.3.8
347 грн
Automatic change of user groups
The module allows you to automatically change the user group based on the total amount of all previous orders for a cert..
7.2-7.4
3.0.0.0, 3.0.1.1, 3.0.1.2, 3.0.2.0, 3.0.3.0, 3.0.3.1, 3.0.3.2, 3.0.3.3, 3.0.3.5, 3.0.3.6, 3.0.3.7, 3.0.3.8
300 грн

